18 August 2010
This tutorial was written by me on 18 August 2010. Any similarity to other tutorials is not intentional.
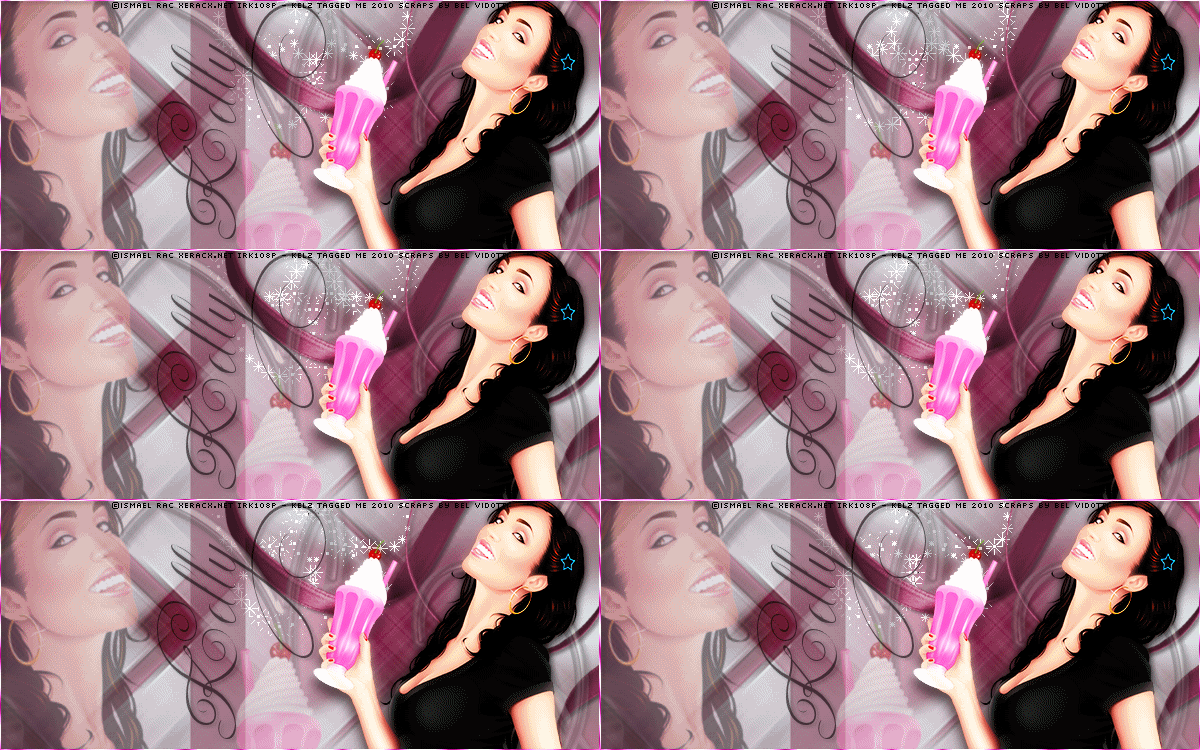
I'm not a very good animator, but I've thrown a bling onto this one! Leave it out if you don't like it.
Supplies:
Tube of choice. I used the awesome art of my favourite artist, Ismael Rac. If you want to use the same art you must purchase a license HERE.
Scrapkit : BV Lust by Bel Vidotti, or any kit with a butterfly, ribbon and heart or other element. Bel's site isn't working so I can't give a link.
Filters : Mura Meister copies, Andrews Filter Collection 58
Font : I used Ekaterina Velikaya Two
Bling of choice, I used a flower from Twinky's Twinks!
She provides a tutorial also, you might like to make your own bling!
Let's start!
Copy and paste your butterfly, re-size 45%. Effects, Mura Meister copies, wallpaper rotate. Adjust blur, motion blur angle 315 strength 100. Effects, edge effects, enhance more. Duplicate, image flip, reduce opacity to 50. Merge visible.
Copy and paste a curly ribbon, I used element 8, re-size until you get an effect you like. Drop shadow.
Copy and paste the metal heart and re-size to your liking. Duplicate, image mirror. Merge the two heart layers. Lower the opacity to about 34, drop shadow.
Copy and paste your tube & place it to the left. Selections, select all, float, defloat. On your ribbon and metal heart layers, hit the delete key. This removes the effect from behind your tube layer. Select none.
Copy and paste your tube again and place it to the right. Duplicate, adjust blur, gaussian blur, 4. Change the blend mode to multiply or overlay, or something else if you like! Drop shadow the original layer.
Layers, new raster layer, floodfill with a colour for your border. Selections, select all, selections modify, contract by 1, delete. Drop shadow.
Effects, Andrews Filter Collection 58, Illusion Town.
Pre-set shape, rectangle. Using a medium colour in your background, foreground null, draw a rectangle across your tag. Convert to raster, lower the opacity to about 40.
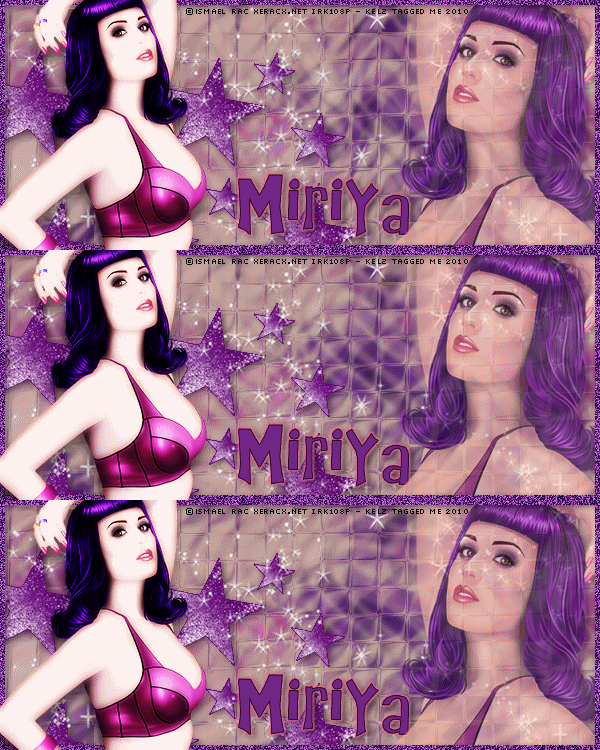
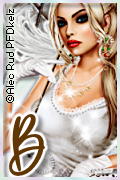
Copy merged, we'll make the Avatar now. Open a new canvas 150 x 150. Paste the merged image, re-size 80%, image mirror. Place where it looks best & crop your tag. Do the same border and the Andrews filter effect. Add your name or initial and your artist's copyright.
Back to your main tag.
I added my name sort of roughly inside the rectangle. I lowered the opacity on my name layer to 60.
Add your artist's copyright.
Select your background layer, layers, view, current only. Copy and paste into Animation shop as a new image. Control L until you have 10 frames. Select all. Open your bling in ani shop, select all and drag into your background. There are better to ways to do this, but I haven't mastered them yet!
Back to psp, hide your background and unhide all other layers. Copy merged and paste into ani shop as a new image. Control L until you have 10 frames. Select all and drag into your background image again.
All done! Thank you for trying my tut!!


15 August 2010
Please click tag to view full size.
This tutorial was written by me on 15 August 2010 and updated on
29 September 2022. Any similarity to other tutorials is not intentional.
Supplies:
Tube and close up of choice - I used a gorgeous tube by Alec Rud. If you want to use the same tube you can purchase it from PFD HERE
Scrapkit - I used the gorgeous It's Fall Yall by Bella Caribena, which you can purchase HERE. Thanks Bella!
Filters - Fantastic Machines, Penta VTR2
Font - Find Lovers
Let's start!
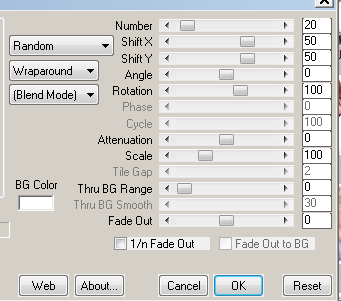
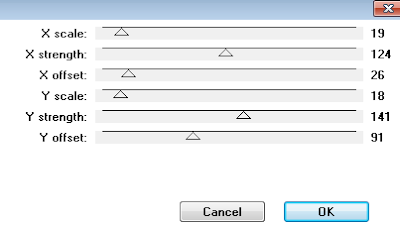
Open a new canvas 600 x 250. Flood fill your canvas with a gradient to match your tube. Effects, Fantastic Machines, Paint Engine, with these settings:
Copy and paste a frame. Click inside your frame, selections, modify expand by 5, copy & paste paper 9, selections, invert delete. Place your paper layer under the frame layer. Image rotate free rotate left 50 on both the frame and paper layers. Using the layer link toggle, change both these layers to 1 so that they move together.
Move towards the top right of your tag, see mine for placement.
Arrange something like this
Click inside your frame, selections, modify by 5, copy and paste your close up. Selections invert delete. Change the blend mode to Luminance (L). Crop. Effects penta VTR2. Drop shadow tube and frame layers.
Close your background and close up tube layers. Duplicate the paper and frame layers, mirror and flip both layers. Close your original paper and frame layers and merge the copies. Open all your layers and arrange to your liking.
Copy and paste your main tube. Duplicate. On the duplicate, adjust blur, gaussian blur, 3 then change the blend mode to soft light. On the original, effects Xero Porcelain, drop shadow.
New Raster layer, fill with the gradient you used earlier. Selections select all selections modify contract by 5, delete. Select none. Effects Screenworks screen array. Drop shadow.
Copy and paste element 10, re-size 25% place under the frame you created, see my tag for placement.
To make the avatar, open a new canvas 120 x 180. On your banner, copy merge and paste onto your blank AV. Re-size 80%, image mirror. Place where it looks best and crop your tag. New Raster layer, fill with your gradient. Selections select all selections modify contract by 3, delete. Select none. Drop shadow.
Add some sparkles to Banner and AV!!
Add your name and copyright to both tag and Av, and you're finished!
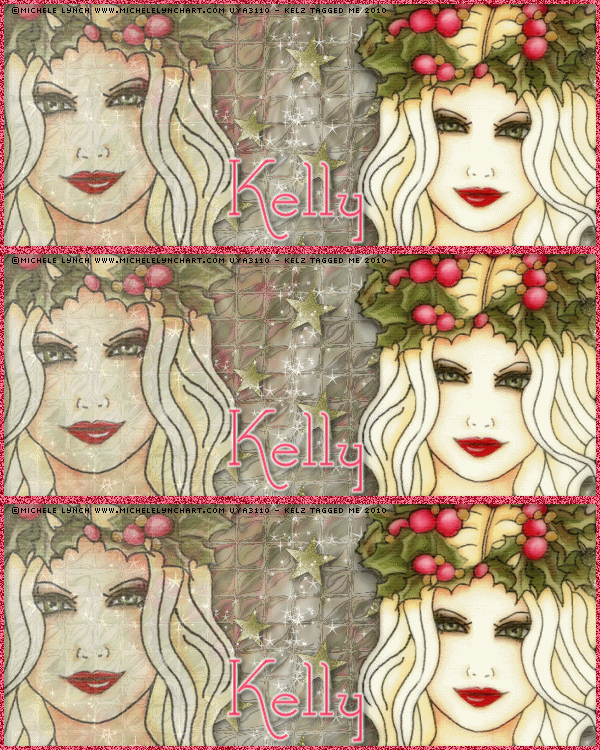
This is the original sample banner and AV.
Here is another sample created by my good friend Beverly, thank you so much!

Subscribe to:
Posts
(Atom)
