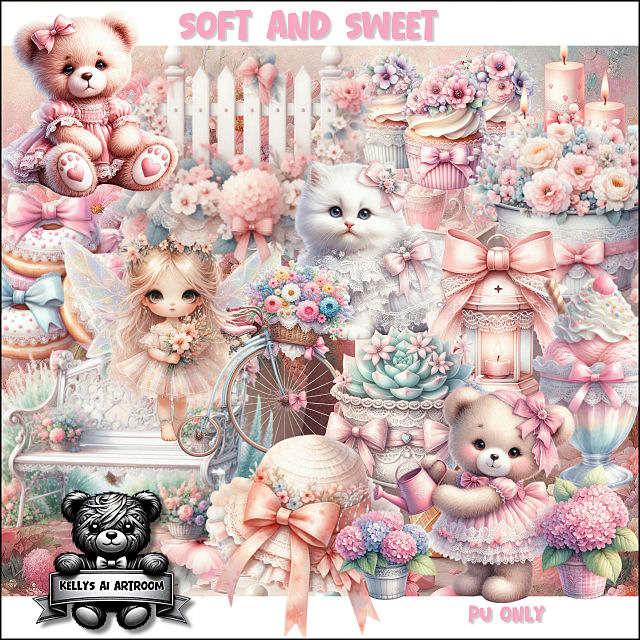
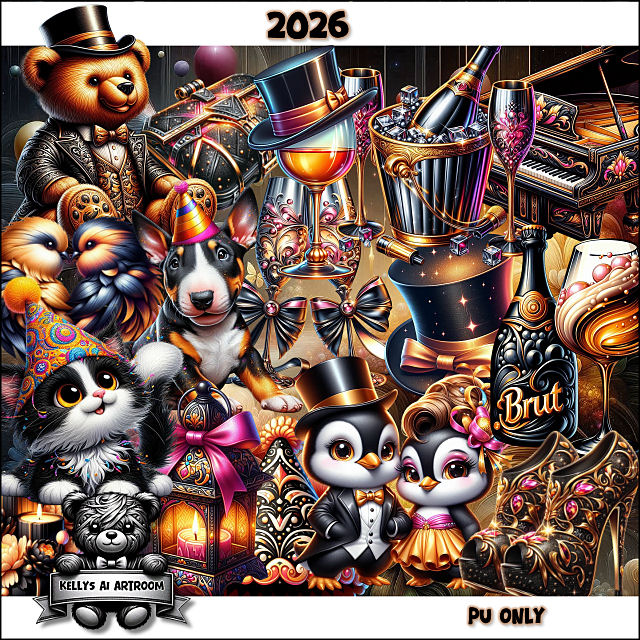
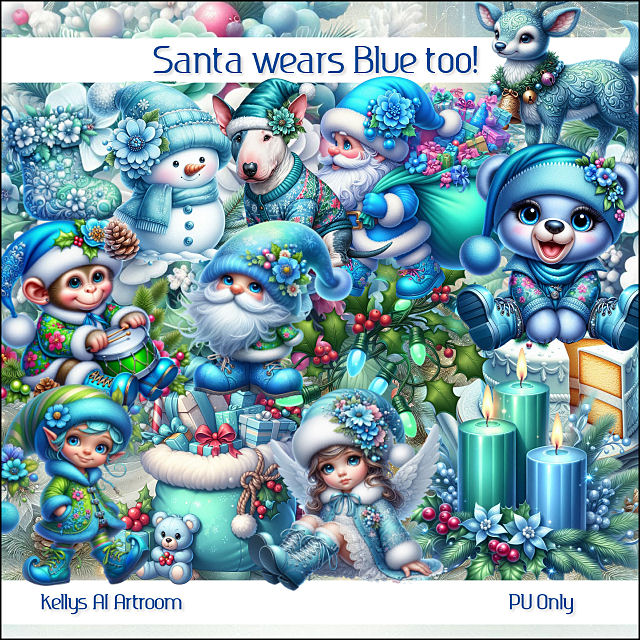
31 December 2025

29 December 2025
How awesome is my blog makeover! Thanks go to my friend Tammy/TK Dezigns. I'm sure you know Tammy, but if you don't, please check out her gorgeous kits HERE
24 December 2025
21 December 2025
18 December 2025
11 December 2025
09 December 2025
01 December 2025
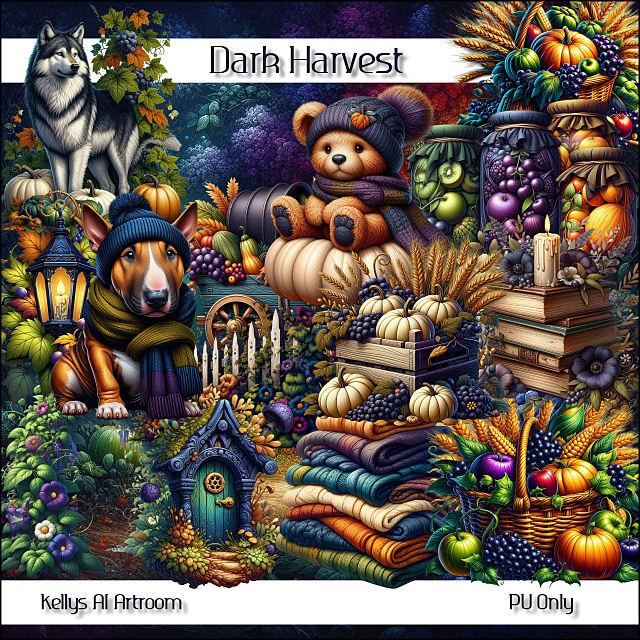
27 November 2025
22 November 2025
Perhaps even a screenshot?
Maybe try a different browser first too?
I'm hoping we can sort this so I don't have to do 2 uploads :)
Thanks xx

21 November 2025
19 November 2025
17 November 2025
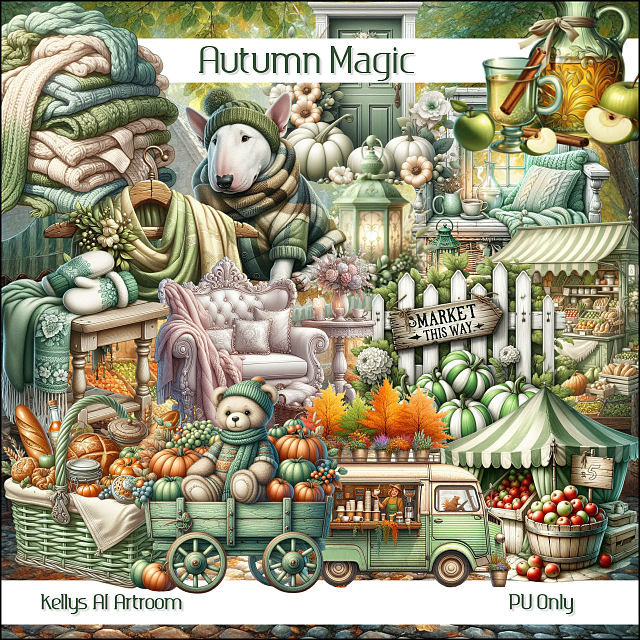
28 October 2025
13 October 2025
10 October 2025
Thanks very much
xxx
08 October 2025
01 October 2025
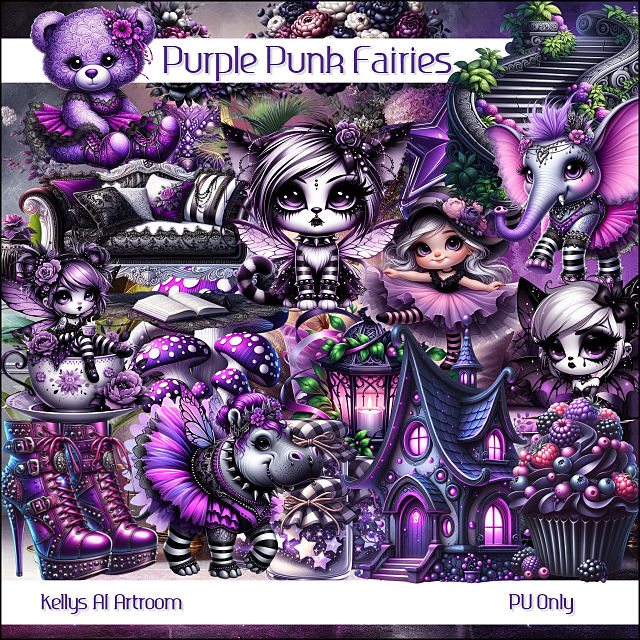
24 September 2025
14 September 2025
11 September 2025
09 September 2025
01 September 2025

12 August 2025
08 August 2025
Subscribe to:
Comments
(Atom)
Snag My Blinkie

Forum I'm At!!

Blogs I Like


