27 December 2010

This tutorial was written by me on 27 December 2010 and updated on
4 October 2022. Any similarity to other tutorials is not intentional.
Supplies:
Tube of choice - I used a stunning tube by Maigan Lynn which you can purchase at CDO HERE.
Scrapkit - I used a beautiful kit called Rainbow Fantasy which you can download at Toxic Desirez HERE
Mask - Trese Mask 0007 which you can download HERE
Filters - Xero Porcelain
Font of choice - Saginaw
Don't forget to leave some love when you download!
Let's start!
Open a new canvas 800 x 800 and floodfill white.
Copy and paste frame 2.
On the frame layer, click inside the frame with your magic wand, selections modify expand by 5, paste paper 15, selections invert delete, select none. Drop shadow the frame layer.
Drop shadwow elements as you go, see my tag for placement
Copy and paste your tube, effects xero porcelain, default settings but change the softness to 12. Duplicate the tube, and on the copy, adjust blur, gaussian blur 3. Change the blend mode to soft light. Drop shadow the original layer.
Copy and paste element unicorn 2, re-size 40%
Copy and paste element starburst, re-size 50%
Copy and paste element cuppy, re-size 25%
Copy and paste element star 3 re-size 45%
Copy and paste element tree
Copy and paste element star border
Create a new raster layer above the background layer. Selections, select all, copy and paste 14 paper into selection, select none. Load your mask, merge group. Lower the opacity to about 26.
Crop your tag and re-size. Add some sparkles!
Add your name and your artist's copyright and you're finished!
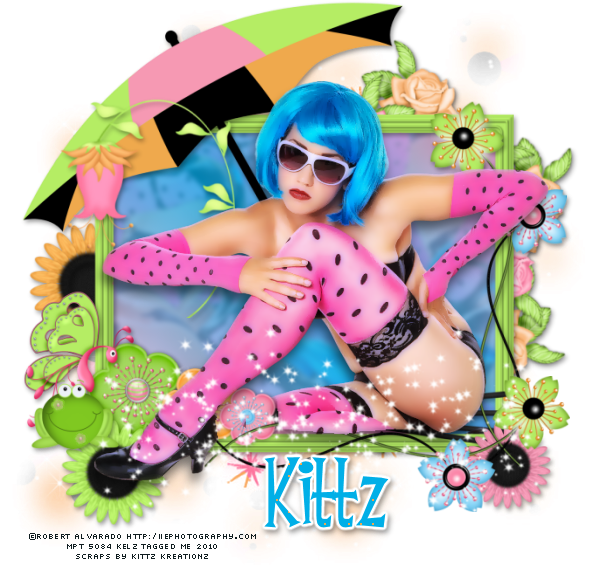
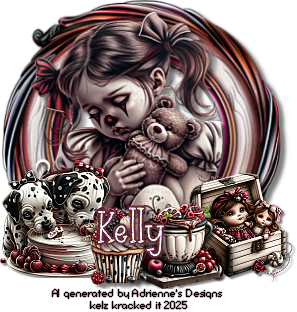
This is the original sample tag
12 December 2010


This tutorial was written by me on 12 December 2010 and updated on
29 September 2022. Any similarity to other tutorials is not intentional.
Supplies:
Tube and close up of Choice. I used the art of José Cano which I purchased when he sold at MPT. Choose another tube preferably a laying down one!
Scrapkit - I used an awesome kit called Smitten Kitten by Pink Princess which you can download HERE
Filters - Xero Porcelain, Eye Candy 4000 gradient glow.
Font of choice, I used Whisper
Let's start!
Open a new canvas 600 x 250, floodfill white. Copy and paste a paper of choice, I used a striped one, paper 9. Crop. Adjust blur, gausian blur, 15. Effects, texture, sandstone with these settings
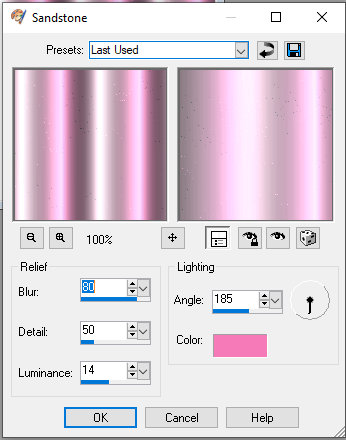
Play around with these settings. I tried this with 3 different papers & got totally different results.
Effects, Xenofex2 Constellation with these settings

Copy and paste your tube as a new layer. Effects, mura meister copies, line, default settings. Lower the opacity to 18 - 30 depending on your tube.
Copy and paste your tube again & move it to the left. Effects, Xero Porcelain at the default settings but lower the blue channel. Drop shadow.
Drop shadow your elements as you go
Copy and paste the cat, re-size 40%
Copy and paste the pawprints, re-size 80%
Copy and paste a dark paper of choice for your border. Crop. Selections, select all, modify by 5, delete.
Layers, new raster layer, floodfill with a contrasting colour. Selections, select all, modify by 1 delete.
Add your name. I used a darker pink gradient glow on mine.
Now, add your artists credits and you are finished!!
For your avatar, hide the border layer, credits and your name, copy merged. Open a new canvas 150 x 150 and paste as a new layer. Image re-size 80%, image mirror. Move it around until you like the bits showing! Crop.
Add the same borders.
Add your name and copyright to AV and you're finished!
Subscribe to:
Posts
(Atom)
Snag My Blinkie

Forum I'm At!!
Blogs I Like






Subscribe


 Posts
All Comments
Posts
All Comments