29 June 2010

This is the first tut I ever wrote! It was written on 27 Dec 2009 for a challenge in a group I belonged to.
I have updated this tut on 25 September 2022 as the previous kit I used is no longer available.
Supplies - tube and close up of choice, I used a gorgeous tube by Jenny at Elegence Fly. You can purchase the tube HERE.
Scrapkit - Happy New Year 2016 by Danielae. This kit is free and you can download this kit at PicsForDesign HERE
Mask of choice - I used Becky 009 but you can choose any mask you have.
Font - I used Heartworld which you can download HERE
Let's go!
Open a blank canvas 800 x 800, floodfill white.
Open a new raster layer, selections, select all. Choose a paper (I used paper 4) and paste into selection, select none. Layers load mask from disk, choose your mask, merge group. You might need to move your mask layer around a bit to get the effect you want.
Copy and paste a frame onto your canvas and resize if necessary. I used element 46, re-size if you want. Using your magic wand, click inside the frame. Selections modify expand by 3. Copy another paper (I used paper 2), selections invert delete. Don't deselect yet.
Copy and paste your close up tube below your frame. If you use a clock frame, make sure the hands of the clock are not up her nose or in her mouth! Once you have the tube placed the way you want it, selections invert delete then select none. Duplicate your tube. On the duplicate, adjust blur, gaussian blur 3. Change the blend mode to soft light. On the original tube layer, go to effects Xero porcelain with the default settings. Drop shadow and change the blend mode to luminance legacy. Lower the opacity of both tube layers to suit your tag. Mine are at 66 (duplicate) and 86 (original). Play with your blend modes if mine don't suit your tag
Copy and paste your main tube
I needed to move my frame/paper/tube over to right so I merged these layers,
Choose elements from the kit and place them where you like them. I used element 25 - champagne bottle, element 22 - ribbon banner, 40 Happy New Year Wordart, 4 - bling and 27 - bow.
Close off your background layer and crop your tag. Re-size to your liking. Add your name and copyright credits.
Add some sparkles!!
That's it finished! Thanks for trying my tut and I hope you liked it!!
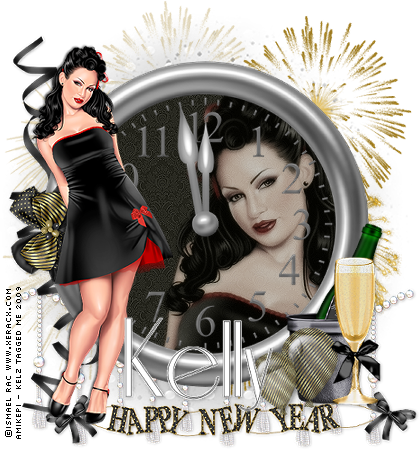
This is the result of the original tut.

Subscribe to:
Post Comments
(Atom)
Snag My Blinkie

Forum I'm At!!

Blogs I Like


0 comments:
Post a Comment