12 September 2010


This tutorial was written by me on 12 September 2010 and updated on
29 September 2022. Any similarity to other tutorials is not intentional.
This is an easy copy and paste tut but I love the effect. It was inspired by a tag my friend Puss Puss made, thanks Puss!!!
Supplies:
Tube - I used the awesome art of Verymany which I purchased HERE
Scrapkit - I used an awesome scrapkit called No Drama Haterz by Krisy at Toxic Desirez, you can download it HERE.
Font : I used New Romantics.
Filters - Xero Porcelain, Eye Candy 4000 Gradient Glow
Let's start!
Drop shadow your elements as you go, see my tag for placement of elements.
Open a new canvas 600 x 250. Copy and paste a paper of your choice.
Copy and paste String and re-size 80%
Copy and paste your tube and move it to the left of the canvas. Duplicate, adjust blur, gaussian blur 3. Change the blend mode to soft light. Apply Xero Porcelain on the original layer, drop shadow the original.
Copy & paste the shoes, resize 25%
Copy & paste a skull, resize 15%. Duplicate a couple of times and arrange how you like.
Copy & paste the Horse, re-size 25%.
Layer, new raster layer. Floodfill with a contrasting colour. Selections, select all, modify, contact by 1, delete. Drop shadow.
To make the Avatar, open a new canvas 150 x 150. Copy and paste your banner, re-size 80%, image mirror. Place where it looks best & crop. Make the same border as you did on your banner.
On both your banner and AV, add some sparkles! Add your name & artist's credits and you're finished!!
This is the original sample banner and AV.


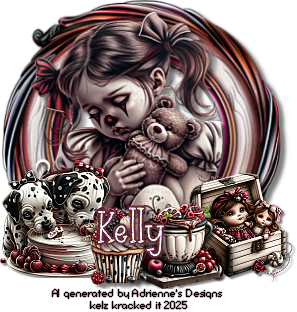
25 August 2010
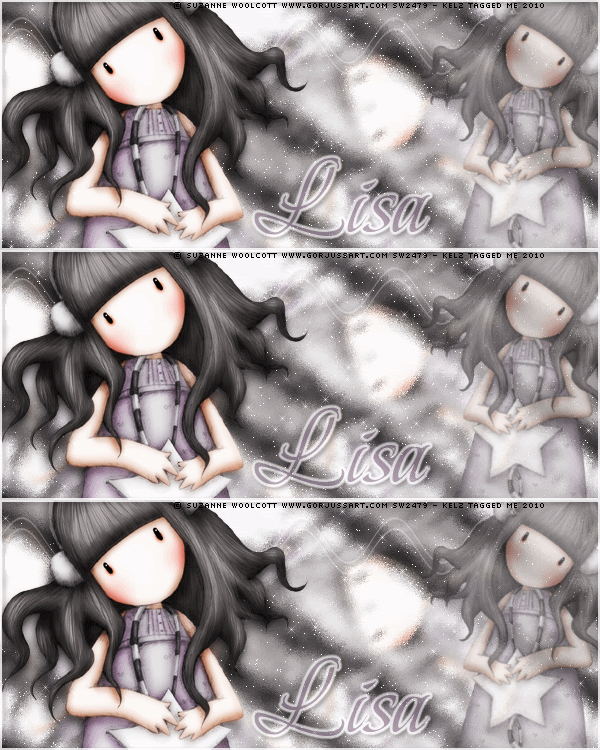
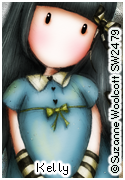
This tutorial was written by me on 25 August 2010 and revised on 13 August 2024. Any similarity to other tutorials is not intentional.
Supplies:
Tube of choice. I used the awesome art of Suzanne Woolcott. Unfortunately she is no longer selling her work so choose another tube.
Filters : Mura Meister Copies, L & K's Frederiek Tramages Metal Peacocks Fantastic Machines Paint Engine Xero Porcelain Xenofex 2 constellation.
Font : I used BeauRivage
Let's start!
Open a new canvas 600 x 250. Copy and paste your tube. Effects, Mura Meister copies, Wallpaper rotate with these settings:

Effects L & K Friederick, settings:

Effects Tramages Metal Peacocks (I have this filter in my Filters Unlimited folder, it doesn't show in my Tramages folder) these settings:

Effects Fantastic Machines Paint Engine, settings:

Choose your rectangle tool, size 2, foreground White, background Null. Draw a thin rectangle something like this:

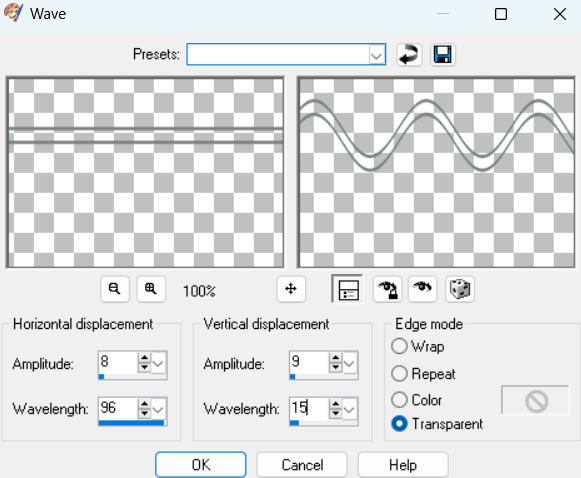
Convert to raster. Effects, distortion wave -
Copy and paste your tube. I like to play around with filters and blend modes to get different effects. This is what I did for this one - Duplicate tube, and on the copy - effects Xero Porcelain, adjust blur, gaussian blur 3, change blend mode to Overlay. Drop shadow the original.
Copy and paste tube again, place on the right side & lower the opacity, I used 60.
Layer, new raster layer, floodfill white. Selections, select all, modify, contract by 2, delete. Select none. Lower opacity to about 80.
Copy merged, we'll make the Avatar now. Open a new canvas 125 x 180. Paste the merged image, re-size 80%, image mirror. Place where it looks best & crop your tag. Do the same border. Add your name or initial and your artist's copyright.
Back to your main tag, add your name & artist's credits and you're finished!!
To animate:
On your background layer - Effects Xenofex 2 Constellation:

Subscribe to:
Posts
(Atom)
Snag My Blinkie

Forum I'm At!!

Blogs I Like











Subscribe


 Posts
All Comments
Posts
All Comments